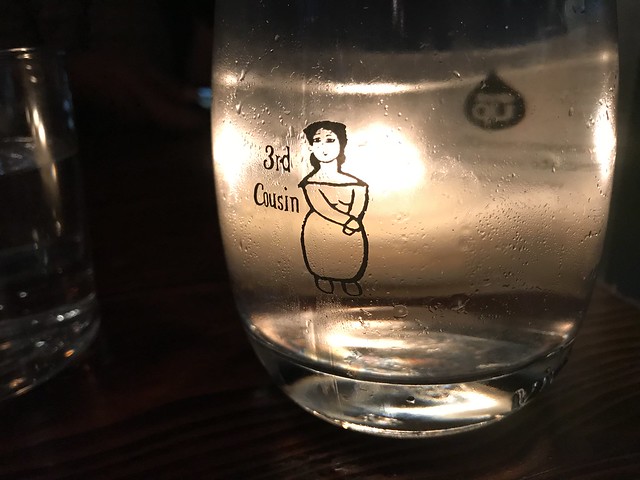
Recently I’ve been getting a large number of Facebook Ads for a new restaurant in SF called 3rd Cousin and in an example of well targeted advertising I ended up checking their menu when I was looking for a new dinner place. The dishes looked very interesting and they had an available spot so we signed up for their grand tasting which is 10 courses of the greatest hits from the menu.
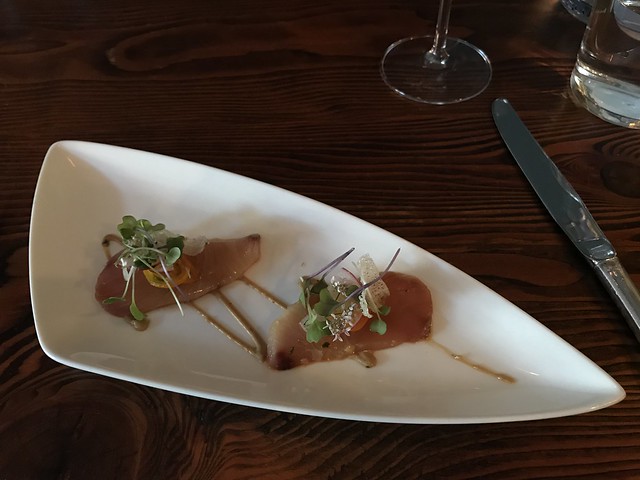
We get started with the Hamachi Crudo which was my favourite dish of the night. A clean simple preparation with the acid from the yuzu making a nice contrast with the fish.… Read the rest