UPDATE: Car has been sold!
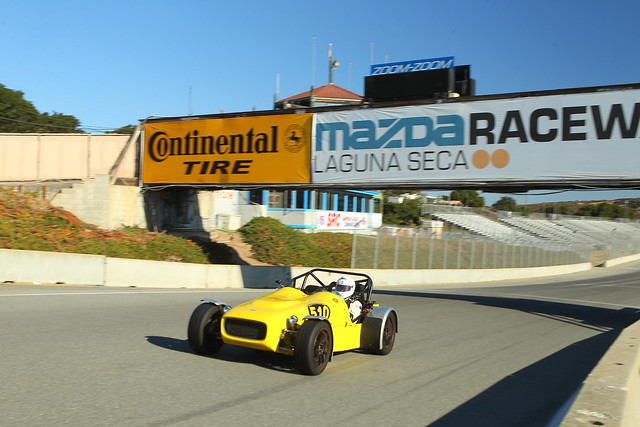
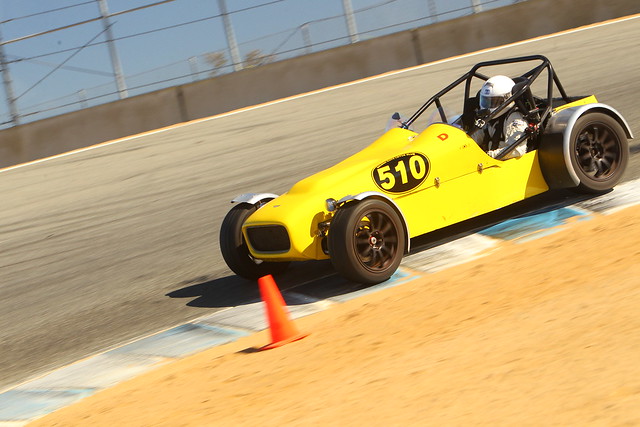
After 6 glorious years of Seven ownership I am looking for a new owner to care for my 02 WCM Ultralite. The car is in great condition and is for sale only because I no longer have enough time to drive it as frequently as I should. This makes it the perfect opportunity for you to pick up a very fast, well sorted and most importantly reliable track car that is both 100% street legal and comfortable enough to be driven on the street.
The base specs of the WCM Ultralite are:
- 1400 lbs
- 240 hp Honda S2000 motor (F22C)
- S2000 gearbox
- Subaru differential
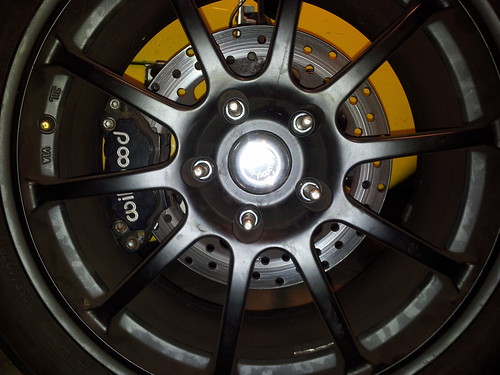
- Wilwood brakes
- 0-60: 3.5 sec (traction limited)
- Fully adjustable independent suspension (camber, caster, toe)
- Adjustable pedals to fit different drivers
- Adjustable shocks
Over the years I have made several significant improvements to car to make it both safer and more reliable as a track car.… Read the rest