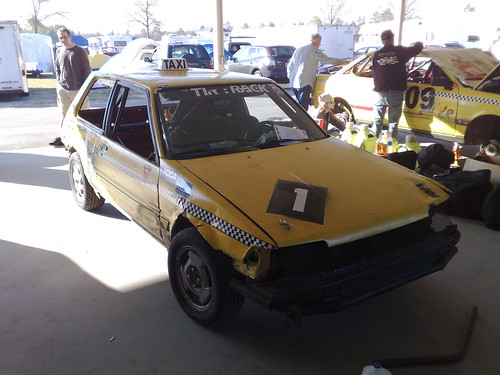
As I mentioned in my last post, I spent most of the Lemons South Spring race as a guest judge. This meant that I not only got to decide and hand out penalties, but I also had a chance to document them. So now for your viewing pleasure, I present my guide to the penalties from Lemons South Spring 2009
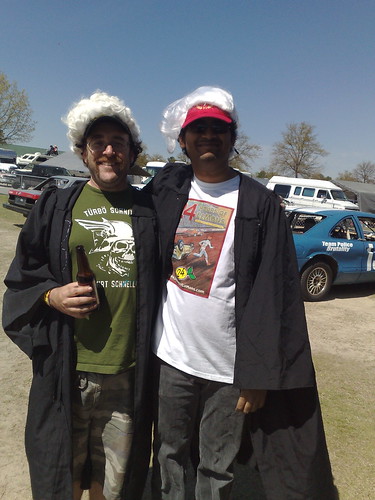
Studs and Spurs
While in Texas, the Judges found a calendar that Lemons drivers love to emulate. Judge Jonny will lead you through a mock photoshoot in your pink cowboy hat
Studs and Spurs penalty – 24 Hours of Lemons from rnair on Vimeo.… Read the rest